
Overview of CS 3D Imaging Software
Table of Contents
CS 3D Imaging is a comprehensive dental imaging software designed for dentists, ENT specialists, radiologists, and other medical professionals who interpret 3D radiological images. This powerful digital imaging solution enables healthcare providers to display, adjust, measure, and export 2D and 3D digital images for oromaxillofacial diagnosis and treatment planning .
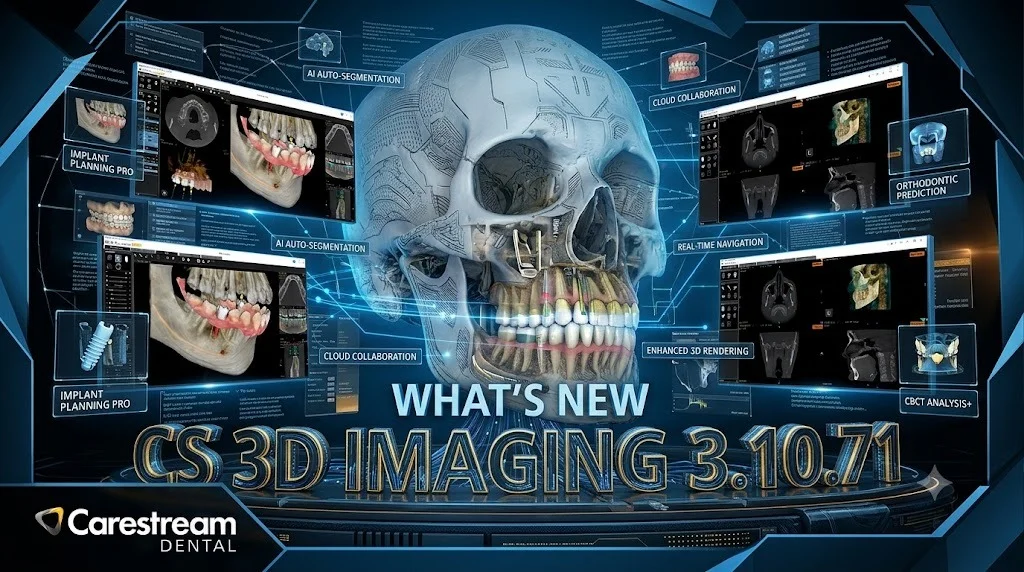
The software integrates seamlessly with Carestream Dental’s 3D X-ray equipment and supports specialized modules such as Prosthetic Driven Implant Planning (PDIP) and CS Airway . Version 3.10.71 represents a significant advancement in the CS 3D Imaging lineup, introducing AI-powered automation and enhanced visualization tools that streamline complex clinical workflows.
For dental professionals seeking efficient implant planning software, CS 3D Imaging 3.10.71 delivers automated features that reduce manual planning time while maintaining precision and accuracy.
Key Features of CS 3D Imaging 3.10.71
Automated Implant Placement on Maxillary Arch
The premium feature set includes automated implant placement on the maxillary arch, which automatically merges CBCT scans with digital impressions to create precise virtual models. This integration works with third-party intraoral scanners from manufacturers including 3Disc, Dexis, iTero, and Medit, providing flexibility for practices using various scanning technologies .
Implant Library with Over 110 Manufacturers
The software maintains an extensive implant library featuring over 110 implant manufacturers. Users can select their preferred implant system, and the virtual crown, implant dimensions, and optimal placement position are automatically calculated .
Automated Virtual Crown and Implant Placement
This AI-driven functionality automatically proposes crown and implant placement. The initial proposal can be manually adjusted by the practitioner, combining the efficiency of automation with the precision of clinical judgment .
360-Degree Rotation Around Virtual Implants
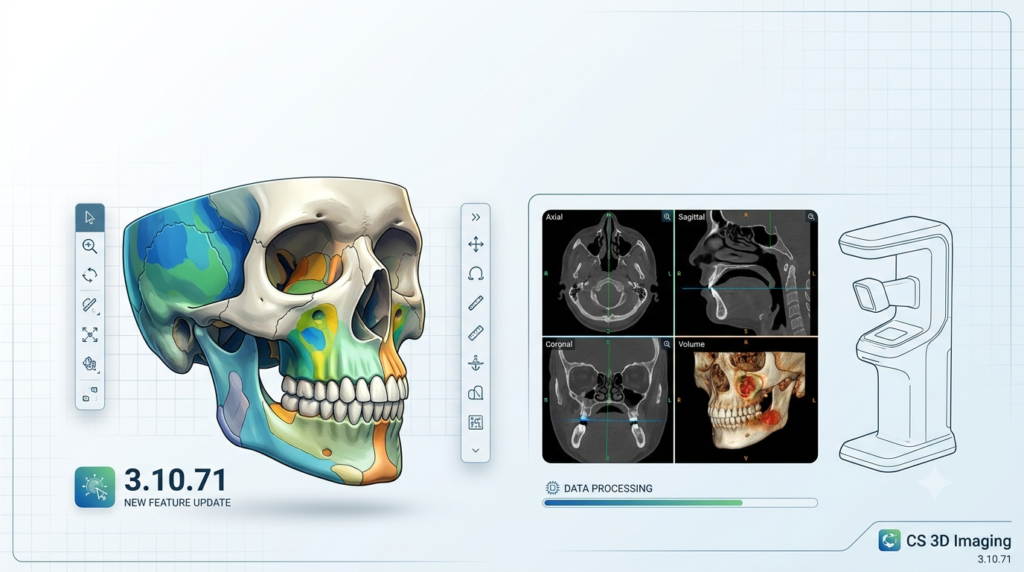
A new standard feature enables users to verify implant position and surrounding anatomical structures through 360-degree rotation around the virtual implant on three MPR axes. This comprehensive visualization enhances surgical planning accuracy .
Automatic Cross-Section Orientation
Cross-sections now automatically flip based on sagittal plane position and volume laterality. This feature displays cross-sections in buccal-lingual or lingual-buccal orientation depending on the volume type, with an option to maintain previous behavior through preferences .
What’s New in CS 3D Imaging Version 3.10.71
Released as part of CS Imaging Suite 3.14.0.58 on December 15, 2025, version 3.10.71 introduces several significant enhancements :
AI-Powered Automation
Automated Virtual Crown and Implant Placement: This intelligent feature uses AI algorithms to calculate optimal implant placement, automatically determining crown dimensions and positioning based on anatomical data. The system learns from practitioner adjustments, refining future proposals .
Enhanced Visualization Capabilities
360-Degree Implant Verification: The new dedicated window allows clinicians to rotate views around a virtual implant on all three MPR axes. This 360-degree assessment capability provides comprehensive visualization of implant positioning relative to surrounding anatomical structures .
Streamlined Workflow Improvements
Crown and Implant Placement Presets: The software now remembers the user’s last-selected mode (Manual or Automated by AI) for crown and implant placement. Previous versions defaulted to AI, but the new version respects clinician preference, reducing repetitive clicks .
Premium Feature Visibility: During trial periods, premium features are highlighted with a crown icon, helping users discover and explore advanced functionality available through licensed modules .
Improved Cross-Section Orientation
Automatic Cross-Section Flipping: Based on sagittal plane position and volume laterality, cross-sections now orient correctly for optimal diagnostic viewing. Users can disable this automatic flipping through preferences if they prefer the previous behavior .
System Requirements
Standard CS 3D Imaging Application Requirements
| Component | Requirement |
|---|---|
| Processor | Intel Core i5 or equivalent |
| RAM | 8 GB (16 GB recommended if using MAR) |
| Graphics Card | NVIDIA/AMD-based graphics card with 512 MB RAM supporting OpenGL v2.0 |
| Hard Disk Space | 1 GB free on system disk + 1.5 GB for implant library |
| Display | 1024×768 minimum resolution, 32-bit color, 17″ or larger |
| Operating System | Windows 10, 64-bit; Windows 11, 64-bit; Windows Server 2016/2019/2022 |
CS 3D Imaging with PDIP Module Requirements
| Component | Requirement |
|---|---|
| Processor | Intel Core i7-2600 (2nd generation) or higher |
| RAM | 8 GB (16 GB if using MAR) |
| Graphics Card | Dedicated graphics card with 1 GB memory supporting OpenGL v3.2 (AMD/Intel graphics not supported) |
| Hard Disk | 7200 RPM SATA drive |
| Network | 1000 BaseT (1Gb/s) bandwidth |
Important Notes: Professional version of Windows is highly recommended. CS 3D Imaging is not designed for Windows touchscreens. Always use Microsoft Windows Update to ensure latest security patches are installed .
Installation Guide for CS 3D Imaging
Prerequisites
Before installing CS 3D Imaging on a client workstation, the server computer must first be installed or upgraded. You will need:
-
Server IP address/hostname
-
CS Deployment Server port number
Installation Steps
-
Locate Server Information: Enter the server IP address and port number (e.g., http://192.168.1.1:80) into your browser address bar .
-
Download Installation Files: Navigate to the download page and download:
-
SetupCSImagingClient.exe (0.70 GB)
-
CS3DSuite.exe (0.21 GB)
-
-
Run Setup: Execute the SetupCSImagingClient.exe file from your downloads folder.
-
Select Language: Choose your preferred installation language and click OK.
-
Accept License Agreement: Read the terms, select “I Agree,” and click Next.
-
Choose Install Location: Select the installation directory or accept the default location and click Next.
-
Select Components: Ensure CS 3D Imaging is selected in the Choose Components screen.
-
Configure CS Link: If CS Link was selected, configure it through the CS LinkConfig dialog.
-
Complete Installation: Click Finish to complete the installation. The CS Imaging shortcut icon will appear on your desktop.
-
Post-Installation: Reactivate your antivirus software after installation is complete.
For upgrades, the procedure is identical to the installation process .
How to Use CS 3D Imaging Software
Getting Started
Launching the Software: Access CS 3D Imaging through the desktop shortcut icon installed during setup .
Workspace Selection: CS 3D Imaging offers multiple workspace tabs including MPR (Multi-Planar Reconstruction), Curve, and Bilateral views. Users can set their preferred default workspace tab in application preferences .
Basic Navigation
Main Toolbar: Access primary tools and functions through the main toolbar icons located at the top of the interface.
Preferences Configuration: Customize tools, functions, and performance through the Preferences window, which organizes settings into functional categories including:
-
Application Preferences
-
3D View Preferences
-
Color Preferences
-
Measurement Units Preferences
-
Implant Preferences
-
Export Preferences
3D View Customization: Optimize performance by configuring:
-
Rendering prioritization (Speed, Balance, or Quality)
-
Shading options
-
Rendering technique selection (Enhanced hardware-accelerated, Standard hardware-accelerated, or Software rendering)
-
Tissue limit adjustment mode
Implant Planning Workflow
-
Load Patient Data: Import CBCT scans into the system.
-
Select Implant: Choose from the implant library of over 110 manufacturers .
-
Automated AI Placement: The software automatically calculates virtual crown dimensions, implant dimensions, and optimal placement position .
-
Manual Adjustment: Refine the proposed placement as needed.
-
Verify Positioning: Use the new 360-degree rotation window to confirm implant position relative to surrounding anatomical structures across all three MPR axes .
-
Generate Report: Export implant planning reports for surgical reference.
Dental Imaging Workflow
-
Image Acquisition: Capture 2D and 3D digital images using Carestream Dental’s 3D X-ray equipment.
-
Volume Loading: CS 3D Imaging can display preview versions of volumes while complete volumes load .
-
Image Adjustment: Use tools to adjust, measure, and annotate images as needed.
-
Export: Save or export images in various formats for patient records or referrals .
Best Use Cases for CS 3D Imaging
Implant Planning and Placement
Prosthetic-Driven Implant Planning (PDIP): The software excels at virtual implant placement, allowing clinicians to plan implant positions precisely. The automated AI features calculate optimal placement based on anatomical data, significantly reducing planning time .
Dental and ENT Diagnostics
Oromaxillofacial Imaging: CS 3D Imaging is designed for displaying, adjusting, and measuring 2D and 3D digital images of the oromaxillofacial region, supporting comprehensive dental and ENT diagnostics .
Surgical Planning
Pre-Surgical Assessment: The software’s advanced visualization capabilities enable thorough assessment of anatomical structures before surgery, with features like automatic cross-section orientation and 360-degree implant verification enhancing surgical planning accuracy .
Educational and Training Applications
Case Review and Learning: The software’s intuitive interface and visualization tools make it suitable for training dental professionals in 3D imaging interpretation and implant planning.
Advantages and Limitations
Advantages
AI-Powered Efficiency: Automated implant placement and virtual crown calculations reduce manual planning time while maintaining precision .
Comprehensive Integration: Seamless integration with third-party intraoral scanners (3Disc, Dexis, iTero, Medit) and Carestream Dental’s CBCT scans provides workflow flexibility .
Extensive Implant Library: Access to over 110 implant manufacturers supports diverse clinical needs .
Enhanced Visualization: 360-degree rotation and automatic cross-section orientation improve diagnostic accuracy .
User Preference Retention: The software remembers user settings, including manual vs. AI mode preferences for crown and implant placement .
Limitations
System Requirements: Demanding hardware requirements, especially for PDIP module with dedicated graphics card and 8GB RAM, may require workstation upgrades .
Windows-Only: Limited to Windows operating systems; not compatible with macOS or Linux .
Touchscreen Not Supported: CS 3D Imaging is not designed for Windows touchscreens .
Not for Diagnostic Use: 3D rendering is not intended for diagnostic use, limiting its application in certain scenarios .
Network Dependency: Client workstations require network connectivity to the server for installation and operation .
Alternatives to CS 3D Imaging
While CS 3D Imaging offers comprehensive dental implant planning and 3D visualization, several alternatives exist for different needs:
Alternative 3D Dental Imaging Solutions
Planmeca Romexis: A comprehensive dental imaging platform offering 3D visualization, implant planning, and cephalometric analysis with a strong focus on integration with Planmeca equipment.
Implant Studio (3Shape): Specialized implant planning software with a strong library of implant systems and intuitive workflow for guided surgery planning.
Dolphin Imaging 3D: Offers 3D imaging and treatment planning with a focus on orthodontic and maxillofacial applications, including airway analysis.
Alternative 3D Visualization and Data Processing Tools
Open3D: An open-source library for 3D data processing with comprehensive visualization and algorithm support .
CloudCompare: A versatile open-source tool for processing, editing, and visualizing point clouds .
MeshLab: Open-source software for editing and sculpting 3D meshes, suitable for processing raw data from 3D digitization tools .
3D Slicer: Open-source software platform for medical image informatics, image processing, and 3D visualization, supporting various clinical applications.
Frequently Asked Questions
1. What is CS 3D Imaging 3.10.71 used for?
CS 3D Imaging 3.10.71 is a professional dental and medical imaging software used for displaying, adjusting, measuring, and planning 3D radiological images for oromaxillofacial diagnosis, implant planning, and surgical preparation .
2. What are the system requirements for CS 3D Imaging 3.10.71?
The standard application requires an Intel Core i5 processor, 8GB RAM (16GB with MAR), NVIDIA/AMD graphics card with 512MB RAM supporting OpenGL v2.0, Windows 10/11 (64-bit), and 1GB free disk space. The PDIP module demands a dedicated graphics card with 1GB RAM supporting OpenGL v3.2 .
3. How do I install CS 3D Imaging client workstation?
First ensure the server is installed and upgraded. Then enter the server IP address and port number in your browser, download SetupCSImagingClient.exe and CS3DSuite.exe, run the setup, accept the license agreement, select components, and complete installation .
4. What’s new in CS 3D Imaging version 3.10.71?
The latest version introduces automated implant placement on maxillary arch, automated virtual crown and implant placement, 360-degree rotation around virtual implants, automatic cross-section orientation, and improved user preferences retention .
5. Can CS 3D Imaging work with third-party intraoral scanners?
Yes, CS 3D Imaging 3.10.71 integrates seamlessly with third-party intraoral scanners including 3Disc, Dexis, iTero, and Medit scanners, automatically merging their data with Carestream Dental’s CBCT scans .
6. Is CS 3D Imaging compatible with Windows 11?
Yes, CS 3D Imaging is fully compatible with Windows 11, 64-bit operating systems, along with Windows 10, 64-bit and Windows Server 2016/2019/2022 .
7. What graphics cards are supported for CS 3D Imaging with PDIP module?
For the PDIP module, a dedicated NVIDIA-based graphics card with 1GB memory supporting OpenGL v3.2 is required. AMD/ATI and Intel graphics chips are not supported for this module .
8. Can I use CS 3D Imaging on a touchscreen device?
No, CS 3D Imaging is not designed to support Windows touchscreen usage and should be used with traditional mouse and keyboard input .
Final Thoughts
CS 3D Imaging 3.10.71 represents a significant advancement in dental and medical 3D imaging software, bringing AI-powered automation to complex clinical workflows. The automated implant placement features, combined with the extensive implant library and enhanced visualization capabilities, position this software as a valuable tool for dental professionals engaged in implant planning and surgical preparation.
The integration with third-party intraoral scanners and the premium feature highlighting during trial periods demonstrate Carestream Dental’s commitment to workflow flexibility and user education. While the software requires substantial hardware resources, particularly for the PDIP module, the efficiency gains from automated AI features justify the investment for practices performing regular implant procedures.
For dental professionals seeking to enhance their implant planning capabilities with cutting-edge automation and visualization tools, CS 3D Imaging 3.10.71 offers a comprehensive solution that balances efficiency with clinical precision. As with all medical imaging software, proper training and adherence to clinical guidelines remain essential for optimal utilization and patient safety.