
Download the Autocue Pioneer V1.2.0 (Professional Broadcast Teleprompter System) Software from this link…
![]()
Overview of the Software
Table of Contents
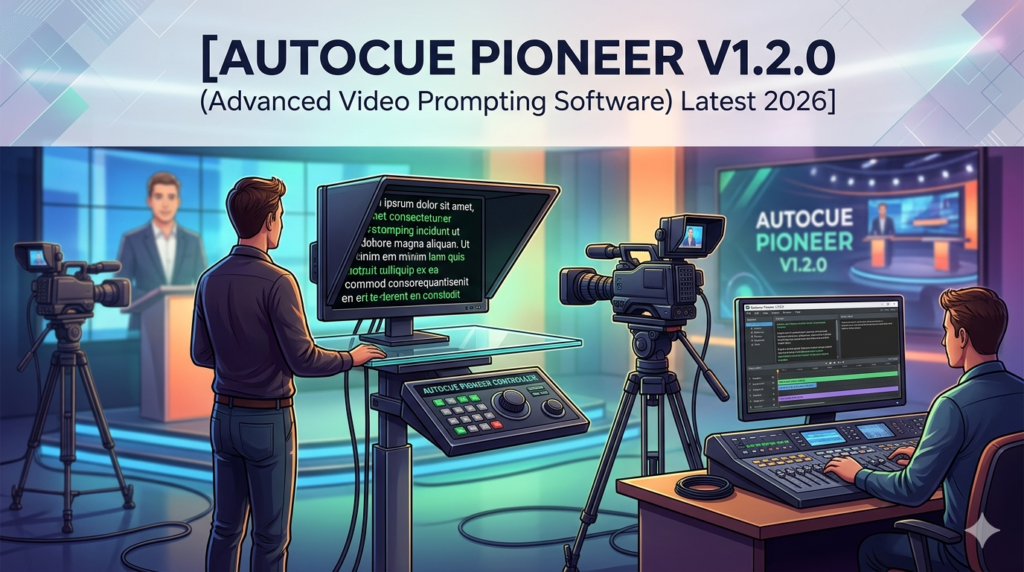
The Autocue Pioneer V1.2.0 is a professional-grade teleprompter system designed specifically for broadcasters, live production studios, and corporate media teams. Unlike basic tablet-based prompting apps, the Pioneer series combines high-brightness hardware monitors with robust mechanical engineering to deliver reliable on-camera script prompting.
Developed by Autocue—a brand synonymous with industry-standard prompting equipment since 1955—the Pioneer V1.2.0 focuses on visual clarity and seamless integration. Whether you are producing a live news segment, a corporate webinar, or a field documentary, this system ensures that presenters can read scrolling text naturally while maintaining direct eye contact with the camera lens.
This article provides a complete, legally compliant overview of the Autocue Pioneer V1.2.0, including its hardware features, workflow integration, and ideal use cases for modern content creation.
Screenshot

Key Features
The Autocue Pioneer V1.2.0 distinguishes itself through several engineering and usability features:
-
High-Brightness Monitors (Up to 1500 nits): Remains readable even under strong studio lighting or direct sunlight, eliminating the need for dark hoods in many outdoor scenarios.
-
70:30 Beamsplitter Glass: Reflects 70% of the script text toward the presenter while allowing the camera to capture 30% of the light through the glass. This makes the text visible to the talent but invisible to the recording.
-
Multiple Professional Inputs: Supports 3G/HD/SD-SDI, CVBS, HDMI, and VGA, allowing direct connection to broadcast cameras, production switchers, and playback computers without external converters.
-
Adjustable Mounting Kit: Includes heavy-duty mounts and counterweights to align the teleprompter lens precisely with the camera lens center, reducing setup time.
-
Metal Housing Construction: Built from robust materials to withstand years of heavy use in studio and field conditions, minimizing vibrations during production.
What’s New in the Latest Version (V1.2.0)
While the hardware remains the cornerstone, the V1.2.0 iteration introduces refinements in connectivity and compatibility with modern teleprompting software:
-
Enhanced SDI Loop-Through: Improved signal integrity when daisy-chaining multiple Pioneer units for multi-camera productions.
-
Wider Voltage Tolerance: Better support for field generators and mobile production trucks (12V–24V DC input).
-
Compatibility Updates: Certified integration with leading prompting software platforms, including Autocue’s own QSeries and third-party newsroom systems.
System Requirements
Because the Autocue Pioneer is a hardware system, these requirements refer to the associated playback computer and production environment:
| Component | Minimum Requirement | Recommended Requirement |
|---|---|---|
| Video Output | HDMI 1.4 | 3G-SDI output card |
| Operating System | Windows 10 / macOS 11 | Windows 11 / macOS 13+ |
| Teleprompting Software | Basic script editor | Newsroom-integrated software (e.g., Autocue QStart) |
| Camera Mount | Standard tripod (75mm ball) | Heavy-duty studio pedestal |
| Power | AC mains (110–240V) | Regulated 14V DC supply |
Installation Guide
Setting up the Autocue Pioneer V1.2.0 requires mechanical assembly and signal routing. Follow these steps:
-
Mount the hood: Attach the metal hood to the front of the Pioneer monitor using the included thumbscrews.
-
Install the beamsplitter glass: Carefully slide the 70:30 glass into the hood’s slot, ensuring the reflective coating faces the presenter.
-
Attach the mounting kit: Secure the teleprompter to your camera’s lens using the adjustable clamp. Align the center of the glass with the camera lens center.
-
Connect video input: Run an HDMI or SDI cable from your prompting computer to the Pioneer monitor’s input port.
-
Apply power: Connect the AC adapter or field battery. The monitor will display the incoming signal.
-
Configure display settings: Use the on-screen menu to flip the image horizontally (mirror mode) so text reads correctly through the glass.
How to Use the Software (Workflow Integration)
The Autocue Pioneer itself does not run “software” internally but is designed to work with professional prompting applications. Here is the standard workflow:
-
Write or import a script: Use a teleprompting application (e.g., Autocue QStart, PromptSmart Pro) to write or paste your script.
-
Adjust text formatting: Set font size, line spacing, and scroll speed. For Pioneer’s high-brightness display, a sans-serif font at 36–48 points is recommended.
-
Send video signal: Connect your computer’s HDMI/SDI output to the Pioneer monitor. Set the computer to “mirror displays” or “extended desktop” mode.
-
Enable mirror flip: On the Pioneer monitor’s menu, enable horizontal flip. This corrects the reversal caused by the beamsplitter glass.
-
Control scrolling: Use a handheld remote, keyboard, or foot pedal to start, stop, and adjust script speed during the live take.
Best Use Cases
The Autocue Pioneer V1.2.0 excels in environments where precision and reliability are non-negotiable:
-
Live Broadcast News: News anchors can read breaking stories naturally while maintaining eye contact with the camera.
-
Corporate Keynotes & Webinars: Executives deliver polished presentations without memorizing lengthy scripts.
-
Film & Documentary Production: Interview subjects can answer questions fluidly with subtle prompting.
-
Educational Video Series: Instructors record consistent, error-free lessons for online courses.
-
House of Worship Streaming: Pastors and speakers follow sermon notes seamlessly during live broadcasts.
Advantages and Limitations
Advantages
-
Studio-grade readability: 1500-nit brightness outperforms consumer tablets.
-
Broadcast-standard connectivity: SDI inputs ensure compatibility with professional rigs.
-
Durable construction: Metal housing withstands frequent transport and setup.
-
Flexible mounting: Works with jibs, tripods, and pedestals.
Limitations
-
Higher cost: Significantly more expensive than software-only or DIY solutions.
-
Weight: Heavier than portable tablet teleprompters (approx. 6–10 kg depending on model).
-
Learning curve: Requires technical knowledge for proper glass alignment and signal routing.
-
No built-in software: Requires a separate computer and prompting application.
Alternatives to the Autocue Pioneer
If the Pioneer V1.2.0 does not fit your budget or workflow, consider these alternatives:
| Product | Type | Key Difference | Best For |
|---|---|---|---|
| Autocue QStart | Software only | Uses any tablet or monitor | Budget-conscious creators |
| Glide Gear TMP 100 | Budget hardware | Lower brightness (450 nits) | Hobbyist video production |
| Ikan PT-ELITE | Portable teleprompter | Battery-powered, lighter build | Run-and-gun field shoots |
| PromptSmart Pro | Software + facial tracking | Voice-activated scrolling | Solo presenters |
Frequently Asked Questions
1. Is the Autocue Pioneer V1.2.0 compatible with any camera?
Yes. The mounting kit is adjustable and fits most lens diameters (from 58mm to 114mm). However, very wide-angle lenses (below 24mm) may show the edge of the glass.
2. Do I need special software to use the Pioneer teleprompter?
No. Any device that outputs HDMI or SDI can send text to the monitor, including a second computer, a tablet with an HDMI adapter, or even a dedicated prompting app. However, professional prompting software is recommended for speed control and script editing.
3. What is the difference between the 17″ and 19″ Pioneer models?
The 19″ Pioneer Studio Teleprompter is larger and heavier, ideal for fixed studio pedestals. The 17″ Pioneer Portable Teleprompter is more compact and lighter, designed for field production and travel.
4. Can I use the Autocue Pioneer outdoors in sunlight?
Yes. The 1500-nit brightness and anti-reflective coating make it readable in direct sunlight, unlike standard monitors or tablets that wash out.
5. Does the beamsplitter glass affect video quality?
The 70:30 glass reduces light transmission to the camera by approximately 30%. In well-lit studio conditions, this is negligible. In low light, you may need to open your aperture slightly.
6. How do I clean the beamsplitter glass without damaging it?
Use a microfiber cloth and optical-grade lens cleaner. Never use ammonia-based cleaners or abrasive materials, as they will damage the anti-reflective coating.
Final Thoughts
The Autocue Pioneer V1.2.0 remains a benchmark for professional teleprompting hardware. While software-only solutions have lowered the entry barrier, nothing replaces the reliability, brightness, and broadcast integration of a dedicated system like the Pioneer series.
For news studios, live event producers, and corporate video teams that cannot afford script errors or on-camera distractions, the Pioneer V1.2.0 delivers a measurable return on investment through smoother takes, reduced retakes, and more confident presenters. When paired with professional prompting software and a stable camera rig, it forms the backbone of a serious production workflow.
Premium Software Support Service
If you need professional help with software installation, setup, or technical configuration, our team is available to assist you.
Contact & Support
For quick assistance and latest updates, connect with us using the links below:
🔹 Direct Telegram Support
https://t.me/PlayoutKing
🔹 Official Telegram Updates Group
https://t.me/yourgroup
Service Policy
- Remote testing available through AnyDesk before confirmation.
• Verify the setup and performance before completing the order.
• Support available for single or multiple systems.
• Step-by-step guidance to ensure smooth installation and working environment.
Our goal is to provide reliable technical assistance so your software runs smoothly without interruptions.